Intro
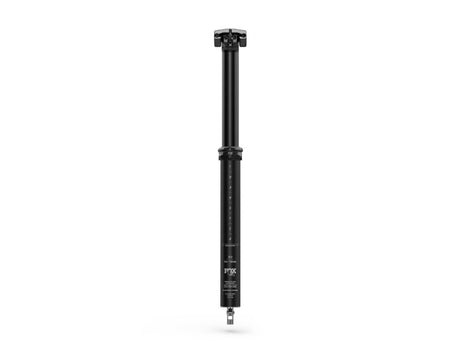
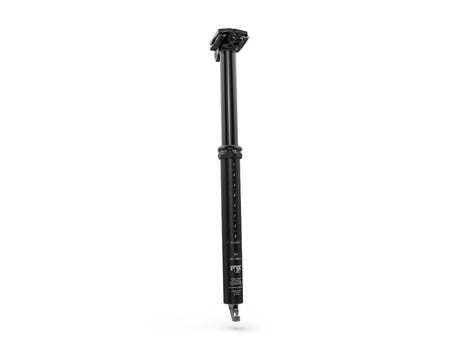
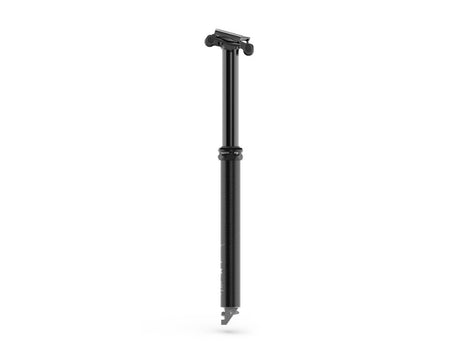
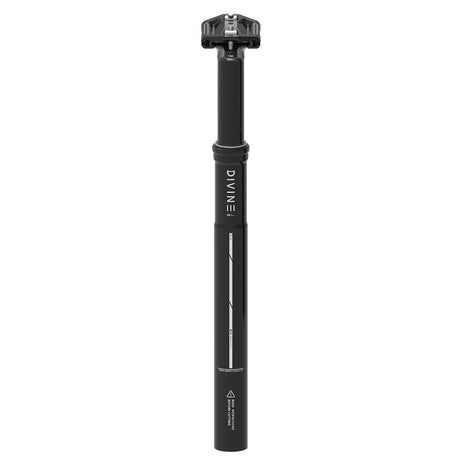
So you’re tired of your seat hitting your butt when the trail gets steep and rowdy, so it’s time to upgrade your dropper post to get as much clearance as you can, but you’re not sure how long of a dropper you can fit.
You don’t want to be that rider with too long of a post, barely even able to reach their pedals, and we’re here to help you avoid that.
We’ll get you to that goldilocks length of dropper that gives you plenty of clearance but also fits you and your frame. We’ll be going over all of the necessary measurements to buy the perfect length dropper post for your bike, and get the maximum amount of drop possible.
Everyday we have people sliding in our dm’s trying to figure out how long of a dropper post they can fit in their bike, so this video will have all of the answers in one place. People will come to us and say ‘I’m 5’11” and ride a size medium, what size dropper post can I run’, but unfortunately, there’s no way besides getting the measuring tape out to get the right size dropper. There are three measurements that determine which dropper post you can fit, and we’ll walk you through how to get all of them in this blog.
Internally or Externally Routed Dropper Post?
If you’re upgrading to a dropper post from a rigid post, congratulations on the single biggest upgrade you can put on your bike! You’ll need to figure out if your frame has internal routing for a dropper post, and if it doesn’t, you’ll have to run an externally routed dropper post. If the rest of your cables are internally routed and there's an empty hole next to where they enter the frame by the headtube, then chances are that’s for a dropper post cable, but you’ll want to double check the frame manufacturers website before ordering anything. The only difference between internally and externally routed posts is the externally routed ones have their actuator on the outside of the post so your cable can get to it without going inside the frame.
Measurements
In order to find the longest dropper post you can fit in your mountain bikes frame, you will need a few measurements which we will help you figure out in the following sections!
Seat Post Diameter
Your first measurement is your seat post diameter.
There are several common mountain bike diameters, the three most common being 30.9, 31.6, and 34.9mm. This one is easy to find on your frame manufacturer’s website and is the most straightforward measurement on the list. If you’re upgrading your current seatpost, it will most likely be printed somewhere on the post.
You are able to shim a smaller diameter post to a larger diameter seat tube, but we do recommend getting the correct size because the shims double your contact surfaces and introduce more opportunities for creaking to develop, and who likes a creaky bike?
Frame Insertion Depth
The next measurement we need is your frame insertion depth, and there are a few critical steps to measuring this. This is often the hardest to measure, but also the most critical to have measured accurately.
Sometimes you’ll get lucky and can find this on manufacturer’s websites, like Transition bikes as you can see here, but not all of them will have it listed, so you’ll most likely need to measure it for yourself.
We have also seen slight discrepancies between what manufacturers list and the true insertion depth, so it’s still a good idea to measure it yourself.
If you’re upgrading your current post, just gently slide your post all the way into your frame until it bottoms out. If the seat tube collar bottoms out on the seat tube clamp, then you need to use a longer post because you’re not reaching the bottom of your seat tube.
If you don’t have a long enough dropper to properly measure your insertion depth, then a rigid post is a great alternative. Most of us have one laying around somewhere or can maybe grab one off of a commuter bike or borrow one from a friend. Using a rigid post to get your insertion depth is exactly the same as using a dropper post, but for those of you with a carbon frame that uses tube in tube cable routing, you may run into a case where the rigid post gives an inaccurate measurement. On rare occasions, the tube that guides your seatpost cable through the frame is what blocks your dropper post at its maximum insertion depth, and a hollow rigid post could slide right past that tube if it is centered in your seat tube.
Using a measuring tape to
measure insertion depth
Measuring insertion depth
including the actuator
You can also slide the measuring tape down the seat tube until it reaches the bottom to get this measurement, but it is very easy to sneak past obstructions that would block a seat post such as linkage bolts or a narrowing seat tube, so you need to be mindful of that.
If you used a seat post to measure your insertion depth, mark your bottomed out post right where it’s exposed at the seat tube clamp, and take it all the way out of your frame. Measure from your mark down to the very bottom of your post, and if your post is internally routed, make sure to include the actuator.
Preferred Climbing Position
Next up, we need to measure your preferred climbing position.
In your climbing position, your knee should have a bend about 25-35 degrees, not fully extended! How we measure this depends on whether you will be installing this dropper post on your current bike or whether you are building up a whole new frame.
Let’s dive into that first case of installing a new dropper on a bike you already have built up. The best way to measure this is with the seat post that is already on your bike. Make sure that you have your seat at the height that’s most comfortable for you when climbing, and measure from the top of the seat tube clamp all the way up to the middle of the rails on your seat. This number is your extended seat post length, and we’ll need it in the next step.
Extended seat post length is the length from the top of your seat tube clamp to the saddle rails
For those of you building up a brand new frame, you’ll need to borrow a friend’s bike to find your climbing position. As a courtesy to your friend, mark where their seat post is so you can put it back when you’re done.
Set the seat to your preferred climbing position, and then measure from the center of the bottom bracket to the middle of your seat rails. Next, find the seat tube length of your new frame from the manufacturer’s website, and subtract this from your bottom bracket to seat rails measurement. This will give you your extended seat post length.
One thing to note is that crank length will come into effect here.
If your new bike will have 5mm shorter cranks, then your extended seat tube length will be 5mm longer than what we just calculated.
If your new bike has 5mm longer cranks, then your extended seat tube length will be 5mm shorter.
Putting It All Together
Now we’ve got all the measurements you need to make sure you’ve got a perfectly fitting dropper post. At the time of filming this, One Up actually has a super handy calculator that can do all of the thinking for you once you’ve got your measurements. Just plug in the extended seat post length and your frame insertion depth that you just measured and they will show you a bunch of options that will fit you and your frame. This makes it super straightforward, but in case that website is down or not working for whatever reason, here is how to figure out which posts fit yourself.
You’ll need to find the spec sheets of the dropper post that you’re interested in from the manufacturer’s website, and we’ll be using a couple of the measurements you find there.
First we’ll be looking at the distance from the bottom of the seatpost collar to the middle of the rails of the seat, and this distance has to be less than the exposed seat post length we found earlier. If it’s too long, you'll have too much post sticking out of the frame even when it's fully bottomed out.
Second, we need to make sure that the total seatpost length, from the top of the seat rails to the bottom of the post, including the actuator for internal post, is less than your exposed seat post length plus your frame insertion depth.
If your post satisfies these two conditions,
then that seat post is guaranteed to fit both you and your frame.

